The original recipe was for 6 donuts, and I doubled it and got 17 donuts. I found if I tried to make them bigger the hole would fill up in my pan. So they are kind of small, but that is OK. Like I said, I don't mind eating two.
The batter is so easy. You basically just mix everything in a bowl. I love those kinds of recipes. The less mess the better!

Whenever I want to pipe something, I put my bag in a cup to put the batter in. Then I can just take it out and cut the tip and I don't get batter everywhere.


You don't have to pipe it into the pan, but I think it makes it neater and faster this way! I oiled my pan with just a little coconut oil. I only had to do that once, and I'm not even sure it was necessary.


They only take 10 minutes in the oven, and they are light and fluffy.


For the cinnamon sugar topping, I wanted to get them buttered and dipped before they cooled off too much. I wanted that goodness to seep in.

I started using a brush for the butter, and then dipping them into my cinnamon sugar.

 |
| Like my bowl for dipping? It is handy having a toddler around! Also, this is ground raw sugar with cinnamon. |

 |
| dipping... |
 |
| I had to cover every surface. |

I had my second round in the oven while I was sugaring the first batch, and these came out a little more even after I realized I can't overfill the pan.

Here are the cinnamon sugared donuts!


Now for the glaze. My Mom had just gotten me some maple syrup from her trip out East and you can taste it in and out of these donuts. I think it is what makes them so good despite the fact that they are baked and not fried.

I just used about a cup of powdered sugar, maple syrup, and some milk to make the glaze. My recipe measurements are approximate because I kept adding, little by little, until I got the consistency I wanted. I wanted it to be thick enough to stay on the donut but thin enough to kind of slide over it. See how it coats the fork but is still dripping off? Perfect.

So the maple glazed joined the cinnamon sugared on the drying rack.


 |
| Mmmmm |
 |
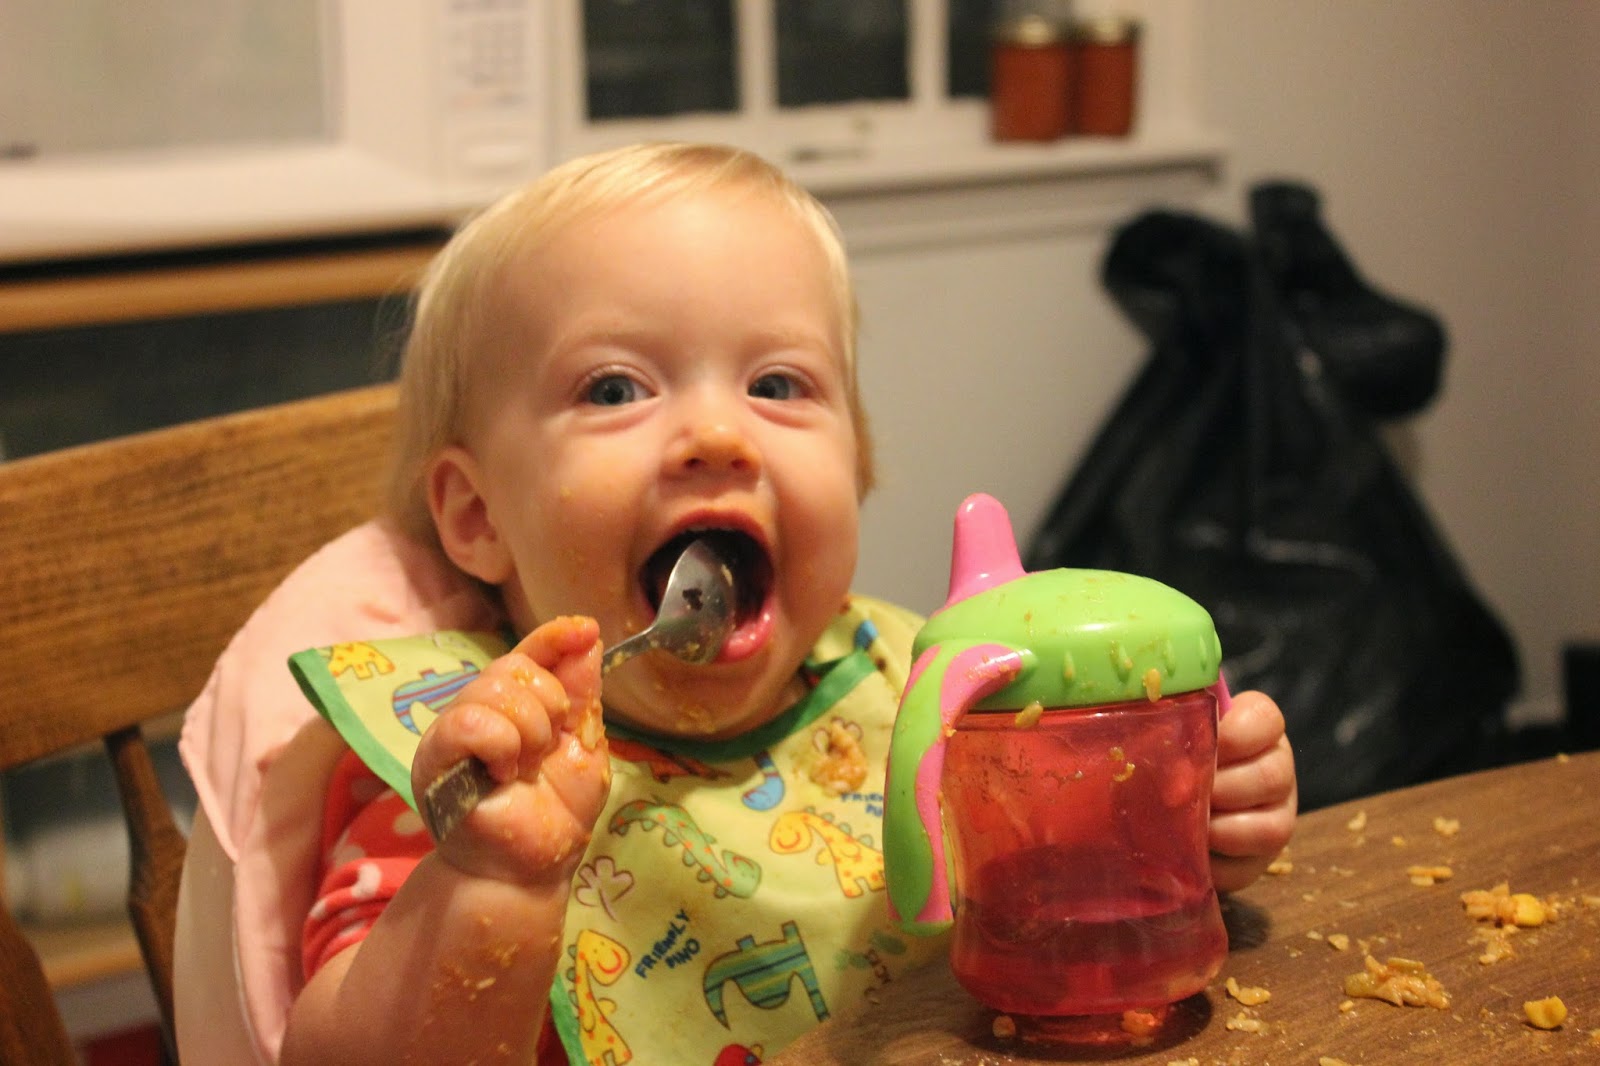
| My taste tester. |
I had a little glaze left over, and heaven forbid I let anything go to waste. I added some cinnamon and used it to make a pretty decoration on top of the glazed donuts, and a little cinnamon never hurt anything.


I had made a double batch because I have been wanting to bring Gavyn's gymnastics coaches a treat for all they do. He goes to The Little Gym and we absolutely love it. He has been going since he turned one and it has done wonderful things for his confidence and large motor skills. His teachers are amazing and deserve treats every week!
So I found this cute box in my room from when my husband got a gift in it and I couldn't throw away a nice box - and now I'm glad I'm a pack rat because it was perfect for a donut delivery.


Basic Homemade Donuts
adapted from Brittany's Pantry
1 cup whole wheat pastry flour, or combination whole wheat and white flours
3/4 tsp. baking soda
3/4 tsp. baking powder
pinch of salt
3/4 cup sour cream or greek yogurt
1 egg
1 Tbsp coconut oil or other oil of your choice*
3 Tbsp pure maple syrup
*I used coconut oil because we don't do soy in our house, and most vegetable oils have soy in them.
Set oven to 400 degrees. Combine flour, baking soda, baking powder, and salt in a mixing bowl. Add sour cream, egg, oil, and maple syrup and stir to combine. Add batter to large ziplock bag and cut a hole in one corner. Fill a standard donut pan (I got mine here) and bake for 10 minutes. Let cool on cooling racks.
For cinnamon sugar topping:
Combine 1 cup of sugar (I used raw sugar that I blended in my mini food processor to make it a little more fine) and 1 Tbsp. cinnamon in a shallow bowl. Melt 2 Tbsp. of butter in another bowl. Brush or dip donuts with the butter and then roll in the cinnamon sugar topping. Set back on racks to dry.
For maple glaze:
Combine 1 cup of powdered sugar with 1 1/2 Tbsp. maple syrup. Add about a Tbsp of milk and mix. See keep adding milk until you get a good consistency. It should coat your spoon or fork but also drip off easily. Dip cooled donuts into the glaze and let dry.
You can also then add about a tsp. of cinnamon to any leftover glaze and drizzle it over the top for another flavor layer.
Enjoy!