Pages

Sunday, April 21, 2013

Homemade Mac and Cheese

It isn't just toddlers that love mac and cheese. I kind of wonder who eats more Easy Macs - children or adults. That is because it is delicious. They are so easy too. You kind of shut down the part of your brain that is saying "That's definitely too orange to be natural" or "powdered cheese - hey they FDA approves it!". Well, I did that for a while too. Homemade macaroni and cheese is a project. It involves ingredients and boiling and all that. Well, I am here to tell you that while it may seem daunting, it is not that hard at all! It takes 15 minutes and you can actually feel good about giving your toddler a nutritious meal. Make it with whole grain pasta and you are even better off. 

I always start by boiling the water for the pasta and cooking it. The sauce doesn't take nearly as long as as pasta!

Then I make a roux. Unfortunately, you can't just add cheese to pasta and have it come out a nice creamy mac and cheese. You have to have a sauce base. Its easy though! Just melt a tablespoon of butter in a saucepan, and then add a tablespoon of flour. Whisk it together for just a minute. If I had more time, or was making this for dinner or guests, I'd saute some diced onion in that butter. Then add in about a cup of milk. It will start to thicken as it heats. If the sauce looks too thick, add more milk. Some salt too for flavor. 


 Then you add in whatever cheese you want. I traditionally use cheddar. About a cup.


 Then you add your cooked pasta - you can strain it with a slotted spoon and put it right into the cheese sauce .That's it! You can add peas or other veggies, but I know my boy wouldn't touch it then. Peas on the side in this house.

Lunch time!

2-serving Mac and Cheese

4 oz or about 1/2 cup small pasta
1 T butter
1 T flour
1 cup milk* plus extra for thinning sauce
1 cup shredded cheese
salt to taste

Cook pasta to al dente. Meanwhile, melt butter in small saucepan and then add in the flour and whisk together for just a minute. Add in the milk and whisk until thickened. Then add in the cheese and stir until melted in. Add in your pasta and seasonings and serve. 

I use whole milk because that is what we use in our house. We use raw if we can get it - the less processed the better. 

Saturday, April 20, 2013

Homemade Mayonnaise

Making mayonnaise is something that I've wanted to do for a long time, but haven't for two reasons. First, Hellman's mayonnaise is really good. I really never had a reason to make my own. Until now of course, since I know that "natural flavors" could mean anything, and that real mayo should never be able to last as long as Hellman's lasts. The second reason I have never done it is because I've heard it can be tricky - that it may not come out right and it would just be a waste. I was also afraid I wouldn't like the taste as much as I like the store-bought stuff.

Well, I conquered my fears and went for it. My Mom got me a immersion blender for Easter (you have to love a Mom that still gets her 27-year-old daughter Easter presents) and after reading how much better that works than trying to use a blender, I figured I had a better chance of being successful. Boy was I right, and I am never going back!

I feel like I should also take a moment to discuss my hatred with Hellman's foe, Miracle Whip. I know that everyone has their own opinion on the matter, and mine is that Miracle Whip is just awful. It does not taste like mayonnaise to me. It is too sweet, and has too many ingredients that I am not OK with. When you make mayo from scratch, you can see how different it is. I'm not saying there is a right or wrong, I'm just saying that for me, real mayo is the only way to go!

I could not believe how simple this was. I used the batch to make egg salad and it was delish. I was also able to use healthy oils - score! This recipe makes a pretty small batch, but since we don't exactly use mayo often around here, I didn't want any sitting in the fridge going bad. You can easily double or triple it if you are making a big batch of potato salad or something.

All you need is a glass measuring cup, or another container which an immersion blender will fit nicely into, an egg yolk, 3/4 cup oil (I used olive oil but next time will use grapeseed oil - I think the olive oil was a little overpowering, but still good!), a tablespoon of cider vinegar, a tablespoon of lemon juice, a teaspoon of mustard, and salt. Salt is a preference thing. I added a good few hefty pinches, but you might want less. You dump it all in the measuring cup and then let your immersion blender do the work. It took my blender all of 5 seconds. I was shocked. It seemed like as soon as I turned it on, I had mayo. There was a little oil left on top, but I read that you don't want to over-blend or it'll fall apart, so I stopped and just stirred in the extra oil. If you are doing a double batch, you start at the bottom of the container with the blender and then move it up as the mayonnaise is made.

It is definitely worth the effort!

Before

After

Creamy goodness!
Recipe in 5th paragraph.

Friday, April 19, 2013

Basic Sandwich Bread

Bread is my favorite. There is absolutely no way I would want to live without it. If the paleo trend of eating is the the right way to go, then I want to be wrong. I love food and I love bread too much to give it up. It makes me happy - especially when spread with just a little butter. Or peanut butter. Orrr honey. Or anything!! I can live without pasta, rice, cereal, and potatoes, but do NOT mess with my bread.

Like most children, I loved fluffy white sandwich bread growing up. I also loved my Mom's homemade bread, but there was a time for each. Now I can't stand the stuff that you buy in the bread isle at the grocery store. That is not bread. That is a conglomeration of chemicals and factory processing that just doesn't do it for me. What I really love are artisan breads - breads made with 3 or 4 ingredients, with a nice crusty exterior and a nice chewy interior that just needs a drizzle of olive oil and sprinkle of sea salt.

That kind of bread is a real treat, but it doesn't serve much purpose when it comes to making sandwiches and toast, especially for the kiddos. My toddler likes PB&J for breakfast. So when I make most of my bread, I like to get a lighter texture and a soft crust. I also want it to be nutritious - so it is mostly whole grain. Trying to make bread completely whole grain is absolutely possible, but I can't get that sandwich bread texture just right. One of my favorite snacks is just a slice of this bread with butter. It has good flavor but isn't too heavy, and it can still hold up a sandwich - without overpowering the sandwich by being thick and heavy.

I think the key to this bread is that the recipe, which uses a whole packet of yeast, only makes one loaf. Generally I would say most recipes use a packet of yeast for 2 loaves, but because this bread has a lot of whole wheat in it, I like that it gets that extra rise from the yeast. This wasn't perfect by any means, but it is one of my best loaves of bread so far.

When I make bread, I always proof my yeast in the warm water. If the water feels warm to my wrist, it is about right. I don't want it to be hot.

This is what my dough looks like. It is coming away from the bowl, but it is still pretty moist. I think a moister bread rises better than a drier dough

Doubled in size!

Second Rise in the loaf pan
The finished loaf. It slices pretty well, but is a little crumbly. I'm not sure how to remedy that yet. 
Whole Wheat Sandwich Bread

3 -3 1/2 cups flour - I used 2 cups whole wheat and 1 cup white. You may end up using a little more - the 3 cups wasn't nearly enough so I think I used more like 3 1/2 to get the dough to form a ball.
2/3 cup warm water (115-120 degrees)
1 packet active dry yeast
1/2 cup warm milk
1/2 stick melted butter
2 T honey
1 1/4 tsp. salt

Measure out warm water in a glass measuring cup. Sprinkle yeast on top and let sit for 5-10 minutes. Combine 3 cups of flour with the salt in your mixer fitted with the dough hook. Once yeast if proofed (it should look a little fizzy) add in the warm milk, butter, and honey and let it sit a couple more minutes. Add the wet ingredients to the dry and set the machine on low. Add flour as necessary to get a pretty wet ball and then let it knead for about 5 minutes. Oil the bowl and dough and cover with a tea towel and let rise for an hour. Punch down, and put into a greased loaf pan. Set oven to 350 and let the dough rise for another half hour or so. Then back for 35-40 minutes or until it is nice and brown and sounds hollow when you tap it. Let cool before slicing.

Tuesday, April 16, 2013

Fresh Pasta Suace

I don't think I'm alone when I figure that when you say you are making marinara or meat sauce from scratch, using canned tomato sauce and canned tomatoes totally counts. You are still making the sauce. I still think that this holds true and will take all the credit for my canned-tomato sauce marinara. However, I am trying to get away from canned tomatoes because I've read that there are PCBs in the cans that can leach into the sauce itself from the high acidity level. Darn it! Back to the drawing board.

While I think it is fairly painless to make your own tomato sauce - I don't always have the time to boil the tomatoes, peel them, cook them, and grind them up. If I want a spur of the moment tomato sauce, this is what I am going to do from now on. I've done this twice in the past couple weeks because it is so good, and so easy. I haven't even used it on pasta yet, so I'll probably be making it again.

It is a fresh, simple tomato sauce. It is chunky and full of flavor. I start with about 6 or 7 roma tomatoes and an onion, dice them up, and add them to a saucepan with some extra virgin olive oil and let it start cooking over medium high heat. I also add dried basil, oregano, parsley, salt, and pepper. Then I just let it cook over medium heat for however long I want. The longer you cook it, the more "saucy" it is going to get as everything breaks down. At the end I add a couple splashes of red wine as well as balsamic vinegar.


The first time I made this sauce I was making Eggs in Purgatory. One of my favorite egg dishes. I made the sauce in a skillet, then made 4 little holes in the sauce and cracked in 4 eggs. I covered it with foil for a few minutes and viola! Served over cous cous and it was fabulous.


The second time I made the sauce was last night, while making Cauliflower Crust Pizza. I'm not going to put a separate post about this pizza because I didn't really take something processed and make it unprocessed, but it is totally worth mentioning. I am a true believer now! Even my two year old thought he was eating regular pizza - and he got so many veggies! I gave him bread on the side to make sure he got some carbs for his growing body.


I used the tomato sauce as the sauce for the pizza. Super yummy. I would add garlic too, once Alli is done breastfeeding. She isn't a fan of it quite yet!

Friday, April 12, 2013

Goat Cheese Gougeres

In Urbana, there is a local farm that raises goats for making gourmet, artisan goat cheeses. I started going to the farm when it was more of a hobby farm and they were only making fresh cheve - like any standard "goat cheese" you would find at the grocery store. Only this stuff was, and is, the BEST. Hands down, I never want to eat any other goat cheese in my life. They sell their cheese at the farmer's market, which I have also frequented since 2004 when I came to college here. The farm was established in 2003, and in 2004 when I went to visit the property, they had a few baby goats (kids) outside in a small fenced area.

Fast forward to 2013, and they have over 150 baby goats this season, are making several different varieties of cheeses, including a brie-type cheese (little bloom), a blue cheese (Huckleberry Blue), and a hard grating cheese (Moonglo), amongst many others. The have also been making goat milk gelato for the past few years that is worth every penny you pay for the little pints. They also grow vegetables and fruits, and have bees for honey. These people are doing it right.

While the farmer's market doesn't start until May, Prairie Fruits starts on-farm sales in late March, to take advantage of all the milk the goats are making during kidding season. To get people out to the farm and for revenue, they have breakfasts available. These aren't ordinary breakfasts. This isn't scrambled eggs and bacon (not that there is anything wrong with eggs 'n bacon...). This is GOURMET food, made with almost all local ingredients. They are making things like freshly stone ground grits, with poached egg, tomato pesto, and blue moon farm greens. That is what I had for breakfast there last week. It is worth the trip, the wait in line, and the money, for not only the food (which I accompany with either a good cup of coffee or some goat milk hot chocolate), but for the atmosphere. You can visit the goats, the kids, and the rest of the farm animals - and take a moment to teach your children about living simply, and supporting others who chose to do the same. I went last week by myself with the two kids - baby girl cried almost the whole time. Still worth it. 

I could go on - but I'll get to my point. The first week we had breakfast on the farm this year they had, in addition to several other menu items, these little gougeres. They made them with their moonglo cheese. Oh MY were they good. So on my way out, I bought the last hunk of moonglo and was determined to make them myself. 

Gougeres are puffy, light, and full of flavor. Some people fill their open centers with filling, but I like to eat them just as is. They take some attention, but are fairly easy to make. 

You start by combining water, butter, salt, and a pinch of chili powder in a pot until boiling. Then you add 1/2 cup flour all at once and whisk vigorously until the dough comes away from the sides of the pot and makes a little ball. 


Just after adding flour

when it starts to pull away

 While still whisking vigorously, you take the dough off the heat and add in 2 eggs. You whisk it fast to make sure the eggs don't curdle. Eventually, it smooths out. 


Then you add in your cheese. Hard cheeses are best. If you can't get ahold of any moonglo, parmesan would be my next best choice. 


After the batter is made, you have to pipe it into little piles on your silpat/baking sheet. To fill my pastry bag, I put it in a cup with the top folded over, like such:

 Then I can just fill the bag...


 And it lifts right out! Just snip the tip and you can pipe out your little golf-ball sized gougeres. 


I put a little extra grated cheese on top for decoration and flavor


Then you bake them! They puff up, and the middle becomes hollow, mostly. They are crisp on the outside and soft on the inside. If you want them completely crispy, you just bake them longer. 


 So good!

Gougeres

1/2 cup water
3 Tbsp. butter
1/2 tsp. salt
pinch chile powder
1/2 cup flour
2 large eggs
3/4 cup grated cheese

Preheat oven to 425. line a baking sheet with parchment or a silicone baking mat. Combine water, butter, salt, and chile powder in saucepan and heat over medium until butter melts. Dump in the flour and whisk until the batter forms a ball away from the sides of the pot. Remove from the heat and let sit 2 minutes. Then add the eggs, one and a time, and stir quickly to incorporate them. Add 3/4s of the grated cheese (and some chives or other fresh herbs would be good here) and stir until well combined. Fill a pastry bag with the batter and either use a tip or just cut off the end and pipe out cherry-tomato sized circles. Top each with a little bit of grated cheese. Bake for 10 minutes, then lower the oven temperature to 375 and cook an additional 20-25 minutes, until they are completely brown. Yummy and impressive!

If you would like more information on Prairie Fruits Farm you can find them on facebook or here is the link to their website: Prairie Fruits Farm

Sunday, April 7, 2013

Granola Bars

I like to be efficient. With absolutely everything. I pride myself on my efficiency. If I'm walking through the house, you can bet I'll find a few things to make the walk more productive - picking up socks on the way to the kids' room to put in the hamper, taking a pail of dirty diapers from the kids' room to the door for disposal by Dad, taking mail from the kitchen to the office to be sorted. You get the idea. I don't JUST walk through the house to get from one side to the other.

Even as a baby, Gavyn has had a pretty hoppin' social life. Well, I guess I am the one with the social life - we belong to a parents group that gets together throughout the week for various activities so kids can get together and Mom's can do the same. Staying busy keeps our schedule in line and gets us out of the house - very important especially in the winter months. We go to playdates, gymnastics, holiday events, etc, almost every day of the week. Now that we live in Monticello, I end up driving a little farther than I did in town. So we have a lot of car time, and not as much time at home anymore. My efficient solution: eating in the car!! I know, I know, I should be sitting my toddler down at the table for his meals and snacks so he gets accustomed to that, but we just don't have the time every day. He does eat breakfast, usually lunch, and dinner at the table. But snacks happen wherever we are. Usually, in the car. So I like to find food that is easy to eat on-the-go. This means it has to be finger food, not make a mess (although my toddler can make a mess out of just about anything if he puts his mind to it) and above all else, nutritious!

Often we bring homemade crackers, dried fruit, bananas, string cheese, and other finger snacks. These granola bars are an awesome option as well. They hold together well, meaning less crumbs for me to clean up (although not fool proof by any means!) yet still chewy end soft enough for a toddlers mouth to chew. They are also filled with yummy things. The first time I made these I put loads of dried cranberries and raisins in there. The second time I used pecans, coconut, and cherries. It was basically just a bunch of scraps I had in the cupboard. So yes, I'm made these twice in two weeks. So in a pinch, I can just grab one for the diaper bag and hand it back when it is snack time! They are 100% whole grain, lots of protein, full of fiber, and chemical free :).

They are also relatively economical when it comes to dishes - and you know I like that!

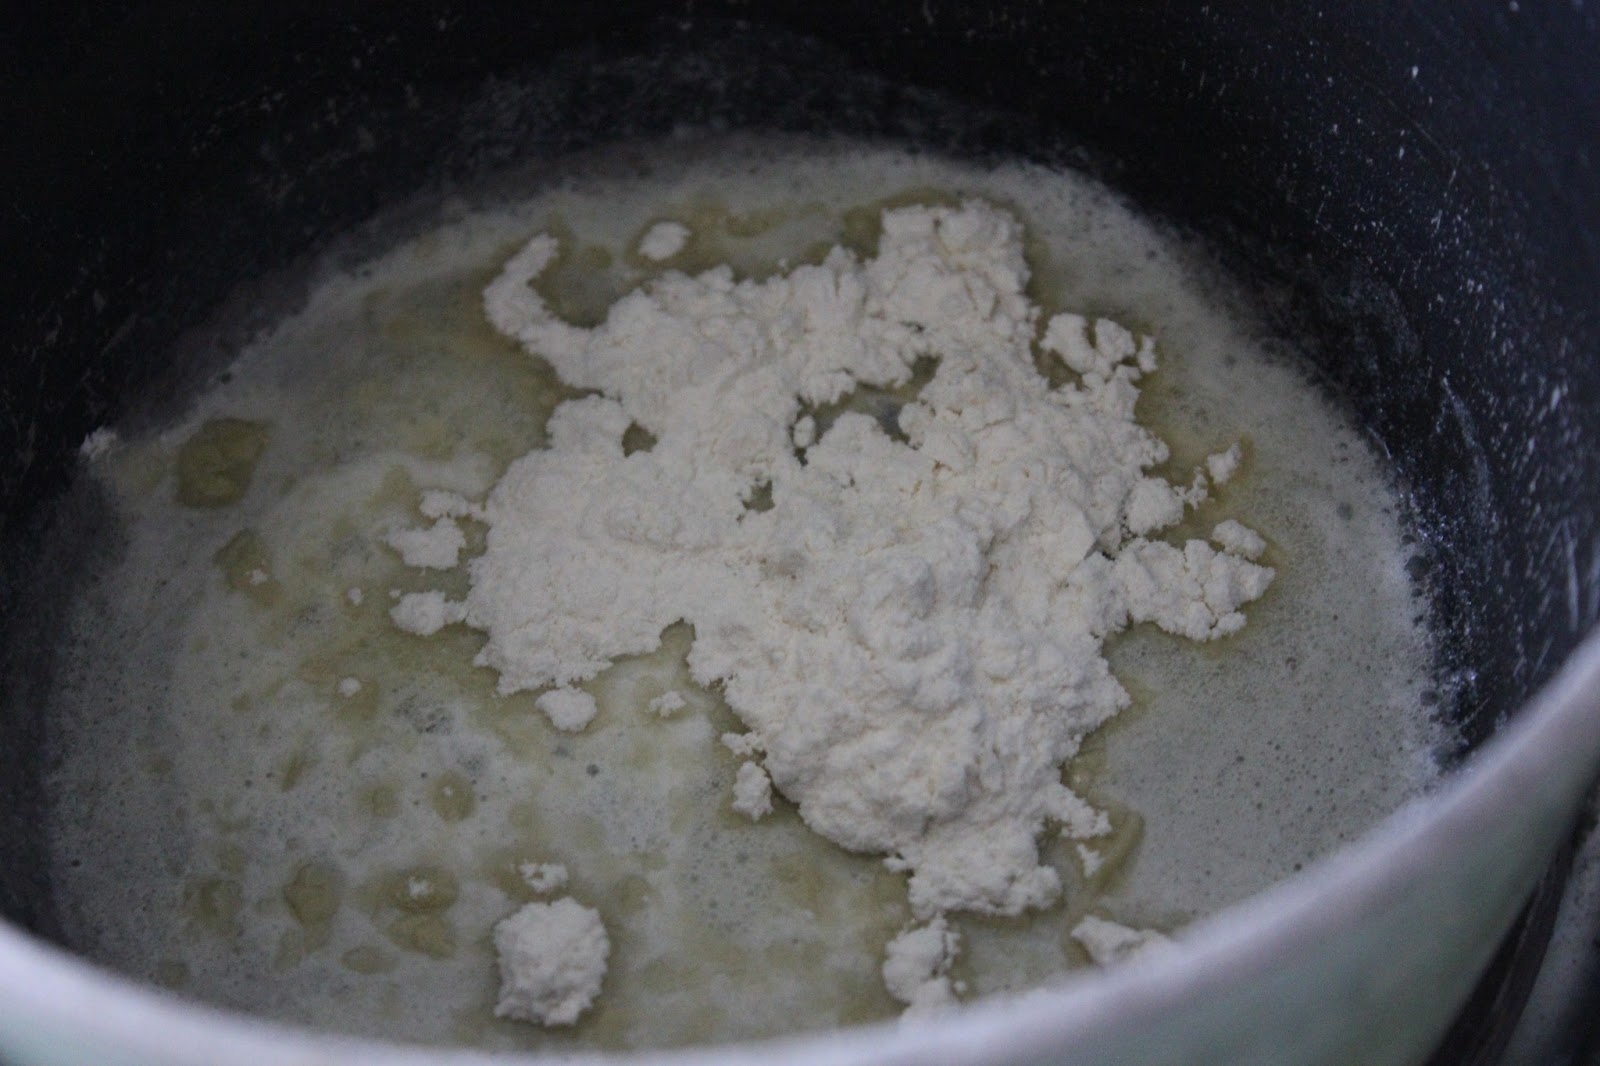
Start with a big bowl and put 1 2/3 cup oats, 1/3 cup whole wheat flour, 1/2 tsp salt, 1/2 tsp cinnamon, and 1/2 cup sugar. Mix together.


I used a combination of brown and white sugar - more brown than white. I also doubled the recipe so in my pictures it might look like more than I am saying in the recipe.

You do have to mix the wet ingredients separately, but since you have to melt the butter anyway, I just did it all in my 2 cup glass measuring cup. It is 6 Tbls. of butter, melted, 1/4 cup plus 2 Tbls. honey, and a tablespoon of water.


Add the berries, nuts, coconut, etc. to your dry ingredients first and then add the wet ingredients, along with 1/3 cup peanut butter. 


My baby girl was watching the whole time...


In a 9x13, or smaller pan if you want thicker bars, place a piece of parchment paper and grease it well. This will make getting them out soooo much easier. Totally worth the effort.


Then you bake in the over at 350 degrees for about 40 minutes. You want to make sure they are nice and brown around the edges.


Wait for them to cool completely before getting them out and cutting them. I even put mine in the refrigerator.


I stored some of mine in an airtight container, and some I wrapped up individually for taking on the road. Next time I might play around with adding different seeds and maybe even some chocolate. I love that I can just dump whatever I have in my cabinet in there! Also, I don't think it matters what kind of oats you use. The first batch I made with rolled oats and the second with instant and it didn't seem to make much of a difference. I personally like the bite that rolled oats have.

Homemade Granola Bars

1 2/3 cup oats
1/3 cup whole wheat flour
1/2 tsp salt
1/2 tsp cinnamon
1/2 cup sugar, white, brown, or both
1-3 cups dried friut, nuts, chocolate, seeds, cocoonut, etc.
 6 Tbsp. of butter, melted
1/4 cup plus 2 Tbsp. honey
1 Tbsp. water
1/3 cup peanut butter

Preheat the oven to 350 degrees. Mix oats, flour, salt, cinnamon, and sugar in a large bowl. Add the fruit/nuts. Mix the melted butter, honey and water together and add to the dry ingredients, along with the peanut butter and mix well. Don't try and use a measuring cup to actually measure the peanut butter - that is a pain to clean. Just use your mixing spoon and get a big ol' hunk of peanut butter in there. Line a 9x13 baking dish with parchment paper and grease well with butter or oil. Pour in the granola ingredients and pack down with the back of a spoon. Bake for 35-40 minutes or until nice and brown around the edges. Let cool completely before cutting into desired portions.

Friday, April 5, 2013

Chocolate Sauce

My son is what you might call a picky eater. I guess it could be worse, but sometimes getting him to eat something new is a challenge that requires tricks and bribes. He is getting more and more bold as he gets older, but we have been and still have to disguise some foods in order for him to eat them. Milk is one of those foods.

I think for some children making the transition from breast milk to cow milk is difficult because breast milk is naturally much sweeter. Personally, I don't really mind if he decides to stop drinking milk completely at this point. I don't think he needs it now that he is eating a good amount of various amounts of food. I don't like milk, and never drank it growing up. When he was about 15 months though, he wasn't gaining any weight, and so we did what we could to get him to drink whole milk. That meant giving him chocolate milk. It worked like a charm. Now that he is a perfectly normal weight he doesn't drink milk that much, but I figured if I was going to be giving him chocolate syrup at such a young age I was going to make it myself.

Now I make it for when he does have milk, and to  just have around for special treats like ice cream!

It is so simple to make, which is why I don't even have to think twice about it anymore. I also find that I need a lot less of this syrup to make milk chocolaty than I do the commercial stuff. When you use quality ingredients, the flavors are more intense :).

You just blend 1 1/4 cup of sugar, 1 cup cocoa powder, 1 tsp of salt, and 1 cup of water in a saucepan and mix until combined. Then put it on medium heat until it just comes up to a bubble. You don't want it to full on boil - just simmer a bit. Stir it and let it simmer for about 5 minutes. It is highly likely to overflow at this point - so watch it!


 Then once it is all combined you add 1 tsp. of vanilla.


Let it cool in the pot for a while, stirring every so often, and then pout into whatever container you want. I really want to get something with a pour spout, or maybe just clean out an old container with a squeeze spout, but for now we just put it in a jar and scoop it!


Yum!

Chocolate syrup:

1 1/4 cup sugar
1 cup cocoa powder
1 cup water
1 tsp salt
1 tsp vanilla

Mix everything but vanilla in saucepan and bring just to a simmer over medium heat. Let simmer gently, mixing constantly, for 5 minutes and remove from heat. Pour in vanilla and let cool.