Pages

Friday, October 25, 2013

Butternut Squash and Black Bean Enchiladas

Another Mom in my Mom's group just became a mother of two instead of one. She had her second little boy just the other week and is one tired Mama! Ten months ago, I would have killed for somebody to bring me a hot meal I didn't have to cook. Especially a week of hot meals. Another friend of mine arranged a Take Them a Meal set-up where you can sign up to bring the family a dinner on the week chosen. I think this is so brilliant. Not only do I completely understand the need for a nice home-cooked meal after having a baby, but I love feeding people. I love cooking and sharing my food. I saw a recipe like this at Reluctant Entertainer but made a lot of changes. Mostly because I was trying to use what I had on hand, and I was doubling the recipe. It was a perfect meal to make double of though, and very satisfying and healthy. 

It is chock full of veggies and can be easily made dairy free by emitting the cheese. It would still be a great meal. I served it with my rendition of Mexican rice (in other words - I just threw in some chili peppers, tomato paste, and homemade taco seasoning). I also used both corn tortillas, which I had a surplus of, for our casserole style enchiladas and homemade flour tortillas for the traditional rolled enchiladas which I brought to the lucky family of now four. I also brought out a jar of my homemade enchilada sauce and stretched it a bit with some tomato sauce and taco seasoning. 

The recipe I write below will be for just one batch of enchiladas, but in my pictures I am making double. 

I started by roasting cubed butternut squash and onions. I cubed them pretty small so there weren't huge chunks in the enchiladas. 


After those roasted for about half an hour, I added zucchini and corn.


All the vegetables roasted together and made what would make a pretty good side dish on its own.


Then I added black beans to the filling.


The filling!


Then time to roll! I put a scoop of filling in each tortilla along with some shredded Mexican cheese. These would also be amazing with goat cheese, in my opinion!


I laid them in a pan with some sauce at the bottom, and squeezed them all together.


 And topped them with more sauce and the rest of the Mexican cheese


That was the traditional enchilada pan. For us, because my corn tortillas were just falling apart when I tried to roll them, I decided to take the easy road and make a casserole. Same great taste, no rolling necessary. Using corn tortillas also made this gluten free, for those who care about that kind of thing.


 The two dishes ready for the oven


Then I baked them for about  half an hour until all the cheese on top was melted. The filling was warm, so if it had been cold it would have needed to cook for longer. 

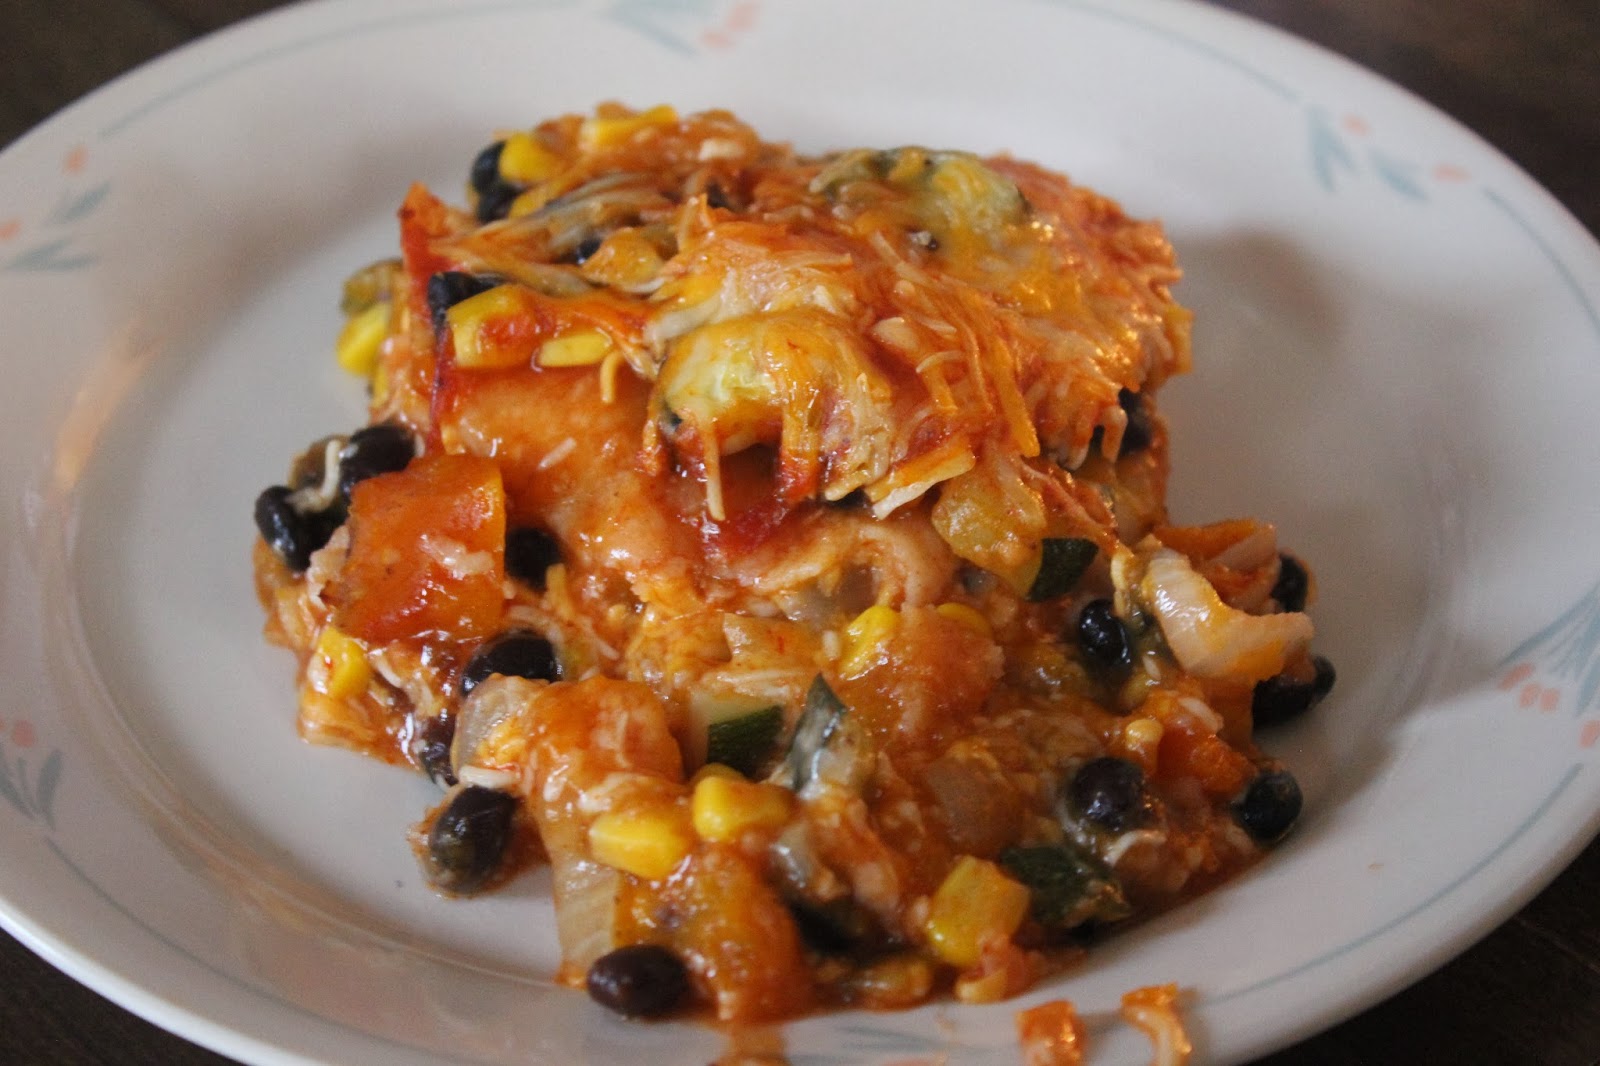
 Here is the rolled enchiladas:


And here is the casserole style:


 I  love all the veggies in this. It is pretty, delicious, and so healthy!


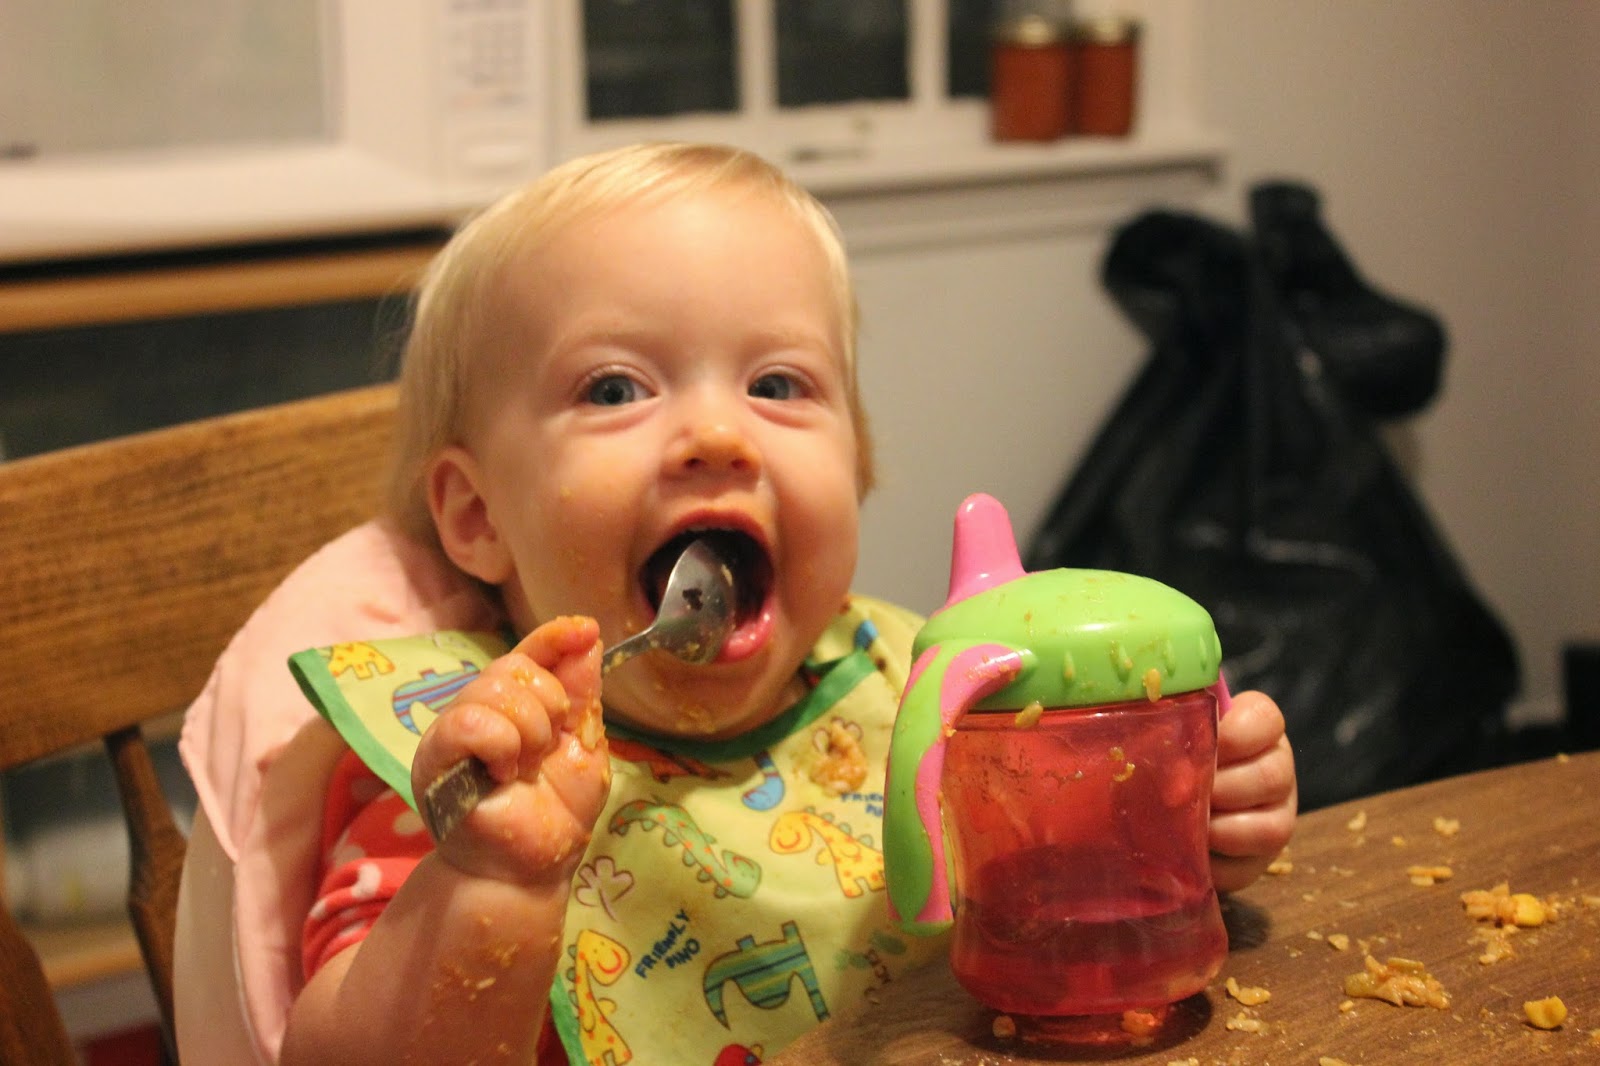
Big smiles for this meal!


Butternut Squash and Black Bean Enchiladas

1 large butternut squash, peeled and diced

1 medium onion, chopped

1 tablespoon extra virgin olive oil

1 medium zucchini, diced

1 cup corn, frozen or fresh

1 can black beans

1/2 recipe homemade enchilada sauce, or a large can of mild enchilada sauce

2 cups shredded Mexican cheese blend

10-12 corn tortillas or homemade flour tortillas

Instructions

  1. Preheat oven to 400 degrees F. Place cubed butternut squash and chopped onion on a large baking pan. Drizzle with olive oil and season lightly with salt and pepper. Toss to coat. Roast for 20-30  minutes or until tender. Add the zucchini and corn to the mixture for an additional 10 minutes. Reduce heat to 350 degrees F.
  2. In a medium bowl, stir together the roasted butternut mixture and the black beans.
  3. Pour a thin layer of the enchilada sauce over the bottom of 13″ x 9″ casserole dish. Place 1/3 cup of the squash and bean mixture into each tortilla. Top with a couple tablespoons of shredded cheese and roll up, leaving the ends un-tucked. This will allow the sauce to get into the enchiladas later. 
  4. Continue until the pan is full of enchiladas. It’s okay to squeeze them together and add in extra if you need to. Pour the remaining enchilada sauce over the top of enchiladas. Sprinkle with the remaining cheese. Bake at 350 degrees until cheese has thoroughly melted and is beginning to bubble around the edges, about 30 minutes. Let cool for 5 minutes.
  5. Serve with Mexican rice, sour cream, acovado, or whatever else you can think of!

Friday, October 18, 2013

Chocolate Chip Cookie Dough Ice Cream Cake

I will never let a birthday go by in this house without making some sort of cake. Until the day I die, I will bake my husband and kids a cake on their birthday. I just can't pass up the opportunity. My husband isn't the most enthusiastic person about his birthdays, but when I told him I wanted to make an ice cream cake for his birthday, having never attempted one before, he kind of perked up and said "Can it be cookie dough?"

Absolutely! A request! I love requests! 


I have personally never had an ice cream cake from Dairy Queen or any other dairy place, but that is where my husband is used to having them at. I knew it was going to be hard to get that "chemical" flavor into my cake, but I knew I could make a really tasty, wholesome cake that would please my man. 

Oh boy did it ever! This is a huge cake. It has a chewy cookie crust, and thick layer of homemade cookie dough ice cream, whipped cream on the top, and sprinkled with crumbles of more cookie. While the separate components are not all my recipes, the idea of how this cake came together is all mine!

I started with my chocolate chip cookie dough ice cream, for which I got my recipe from the Food Network. I did use milk instead of half and half, just because if I don't have half and half for my coffee in the morning, the whole day is ruined. 


I wasn't going to take a picture of this, but making ice cream is so, well, sexy! Velvety cream, the smell of vanilla heating on the stove. Oh Mama. 
This recipe has a lot of egg yolks. So it is more like a custard. To me, than means extra creamy!! I think it is also important to beat them with the sugar until it is light and creamy and all the sugar is dissolved. 

Then I tempered the eggs with the hot cream and whisked it all together to make this beautiful creamy liquid. I could drink this out of a mug, basically.  

Add caption

This went into the fridge to cool and the next day I churned it in my ice cream maker. I made the cookie dough per the recipe from food network, leaving out the egg. I chilled that as well, and when the ice cream was made I stirred in the cookie dough pieces and poured it all onto the next element: the crust.


I made a cookie crust. I may try something a little cake-like next time, because this was really hard frozen, but the taste was incredible. It also made the cake really decadent. I got this recipe from Sally's Baking Addiction. I love extra chewy, dough-y cookies. I put about 3/4 in the bottom of my spring form pan and baked it until just barely done, and baked the rest on a cookie sheet to crumble for the top. I also lined my pan with foil to make everything come out easier in the end.


I didn't get any pictures of my whipping the cream and putting it on top. I felt like it really wasn't necessary but now that I am sitting here writing the post I feel like I am missing it. So, next time I'll bore you with pictures of whipped cream. Unless you like food porn like I do. Then you'll appreciate it.

 Here is the finished cake! It was evening when we celebrated and it made its big reveal, so this picture isn't that great. You get the idea though.


Poor baby girl couldn't have any ice cream. She got cheerios. 
 These photos are much better, taken the next day. Despite all the work it took, I think my favorite part was the frozen whipped cream! I may just make that for myself sometime!


I like that this cake is unique to our family, and that my husband and everybody else that ate it loved it. Yes, I used real sugar, and no, it isn't the healthiest thing you can eat. However, birthdays come but once a year, and life would be awfully dull without treats like this! The important part to me is that I used whole ingredients and knocked the socks off any Dairy Queen cake we could have come by.


Cookie Dough Ice Cream Cake

For the crust, adapted from Sally's Baking Addiction


Ingredients:

2 and 1/4 cups all-purpose flour

1 teaspoon baking soda

1 and 1/2 teaspoons cornstarch

1/2 teaspoon salt

3/4 cup butter, softened

3/4 cup light brown sugar, loosely packed

1/2 cup granulated sugar

1 large egg 

2 teaspoons vanilla extract

1 cup chocolate chips or chocolate chunks

Directions:

  1. Toss together the flour, baking soda, cornstarch and salt in a large bowl. Set aside.
  2. In a medium size bowl, mix the butter, brown sugar, and white sugar together until no brown sugar lumps remain. Whisk in the egg and the vanilla. Pour the wet ingredients into the dry ingredients and mix together with a large spoon or rubber spatula. The dough will be very soft. Fold in the chocolate chips. Cover the dough and chill for 2 hours, or up to 3 days. Chilling is mandatory.
  3. Take the dough out of the refrigerator and allow to slightly soften at room temperature for 10 minutes.
  4. Preheat the oven to 325F degrees. Press 3/4 of the dough into a foil lined spring form pan. Bake for about 15 minutes. It won't look quite done, but it'll bake a little more out of the oven.
  5. Bake the other 1/4 in a big hunk on a cookie sheet. Bake for about 12 minutes. 
  6. Place in the freezer so it is nice and cold before the ice cream goes on. 

For the ice cream layer, adapted from The Food Network

Ingredients

Cookie Dough:


1 stick of butter, softened
1/2 cup packed light brown sugar
1/4 cup granulated sugar
1 teaspoon pure vanilla extract
1 cup all-purpose flour
1/2 teaspoon baking soda
1/2 teaspoon salt
1/2 cup mini chocolate chips


Ice Cream Base:


2 cups half-and-half
2 cups heavy cream
1/2 vanilla bean, split lengthwise
9 egg yolks
3/4 cup sugar
Directions


Make the Cookie Dough: Cream the butter in a mixer fitted with a paddle attachment (or use a hand-held beater) until soft and fluffy. Add both sugars and mix. Add the vanilla. Add the flour, baking soda, and salt and mix. Add the chips and mix just until just combined.

Using your hands, push the dough into a disk 1/2 inch thick, wrap, and refrigerate. 

Make the Ice Cream Base: In a saucepan over medium heat, heat the half-and-half, cream, and vanilla, whisking occasionally, to make sure the mixture doesn't burn or stick to the bottom of the pan. When the cream mixture reaches a fast simmer (do not let it boil), turn off the heat and let the flavors infuse for 10 minutes. Whisk together the egg yolks and sugar. In a thin stream, whisk half of the cream mixture into the egg yolk mixture. Then pour the egg-cream mixture back into the saucepan containing the rest of the cream mixture.

Heat over medium heat, stirring constantly with a wooden spoon. At 160 degrees F., the mixture will give off a puff of steam. When the mixture reaches 180 degrees F, it will be thickened and creamy, like eggnog. (If you don't have a thermometer, test it by dipping a wooden spoon into the mixture. Run your finger down the back of the spoon. If the stripe remains clear, the mixture is ready; if the edges blur, the mixture is not quite thick enough.) When it is ready, quickly remove it from the heat.

Take out the vanilla bean and chill for 3 hours.

Freeze the cream mixture in an ice cream maker according to the manufacturer's instructions. Fold in the chocolate chip cookie dough (you may not need all of it). 


Pour this mixture on top of the frozen cookie crust. 

Whipped cream:

1/2-3/4 cup whipping cream
2 Tablespoons sugar

Whip cream in a mixer with the whisk attachment or by hand with a whisk. Add in the sugar when it is just starting to thicken and beat until you get stiff peaks. 

Pour this on top of your ice cream layer of the cake. Break up the extra cookie you made and place on top of the whipped cream. Freeze until ready to serve! Take out about 10 minutes before you want to serve it to let it soften a little bit. 

ENJOY!

Thursday, October 10, 2013

A Tale of Two Scones

When my husband and I were dating, we used to take a trip down to Southern Illinois every fall to enjoy the scenery, the trails, the wine, and for John, some nostalgia from when he went to college down there. The last time we had went was when I was pregnant with Gavyn. This year we started up the tradition again, making it a family trip! Sadly, the B&B we used to stay at closed down. This was a major bummer for us. We had the perfect place - a cabin with a kitchen, grill, lots of space....and in the middle of nowhere. We could have just stayed there and had a great time. I am so sad it is no longer available to us. 

So this year we stayed at Giant City Lodge, which was nice, and offered a great location for what we wanted to do, but there was no kitchen and no breakfast included. So to save some money, I decided to make some scones to bring with for breakfasts. We also grilled some brats in a park the night we got there and had chicken salad sandwiches and lots of snacks for the rest of the trip. 

When I asked my husband what kind of scones I should make - he actually had an idea. Now usually when I ask my husband what he wants to eat, he could not care less. He hates thinking about such things. So when he asked if I could make both apple AND pumpkin scones, I said of course! I didn't want to make two batches though - so I made a base scone and added the two ingredients. I wasn't sure how they would come out because I didn't measure the apples or pumpkin, and generally they are made differently, but these both came out really tasty. 

For my base scone recipe, I started with flour, both whole wheat and white, a little raw sugar, salt, baking powder, and cinnamon in my food processor. I added in cold butter and pulsed it in. This was a double batch - so my mixer was really full!


To that I added eggs, vanilla, and some milk.


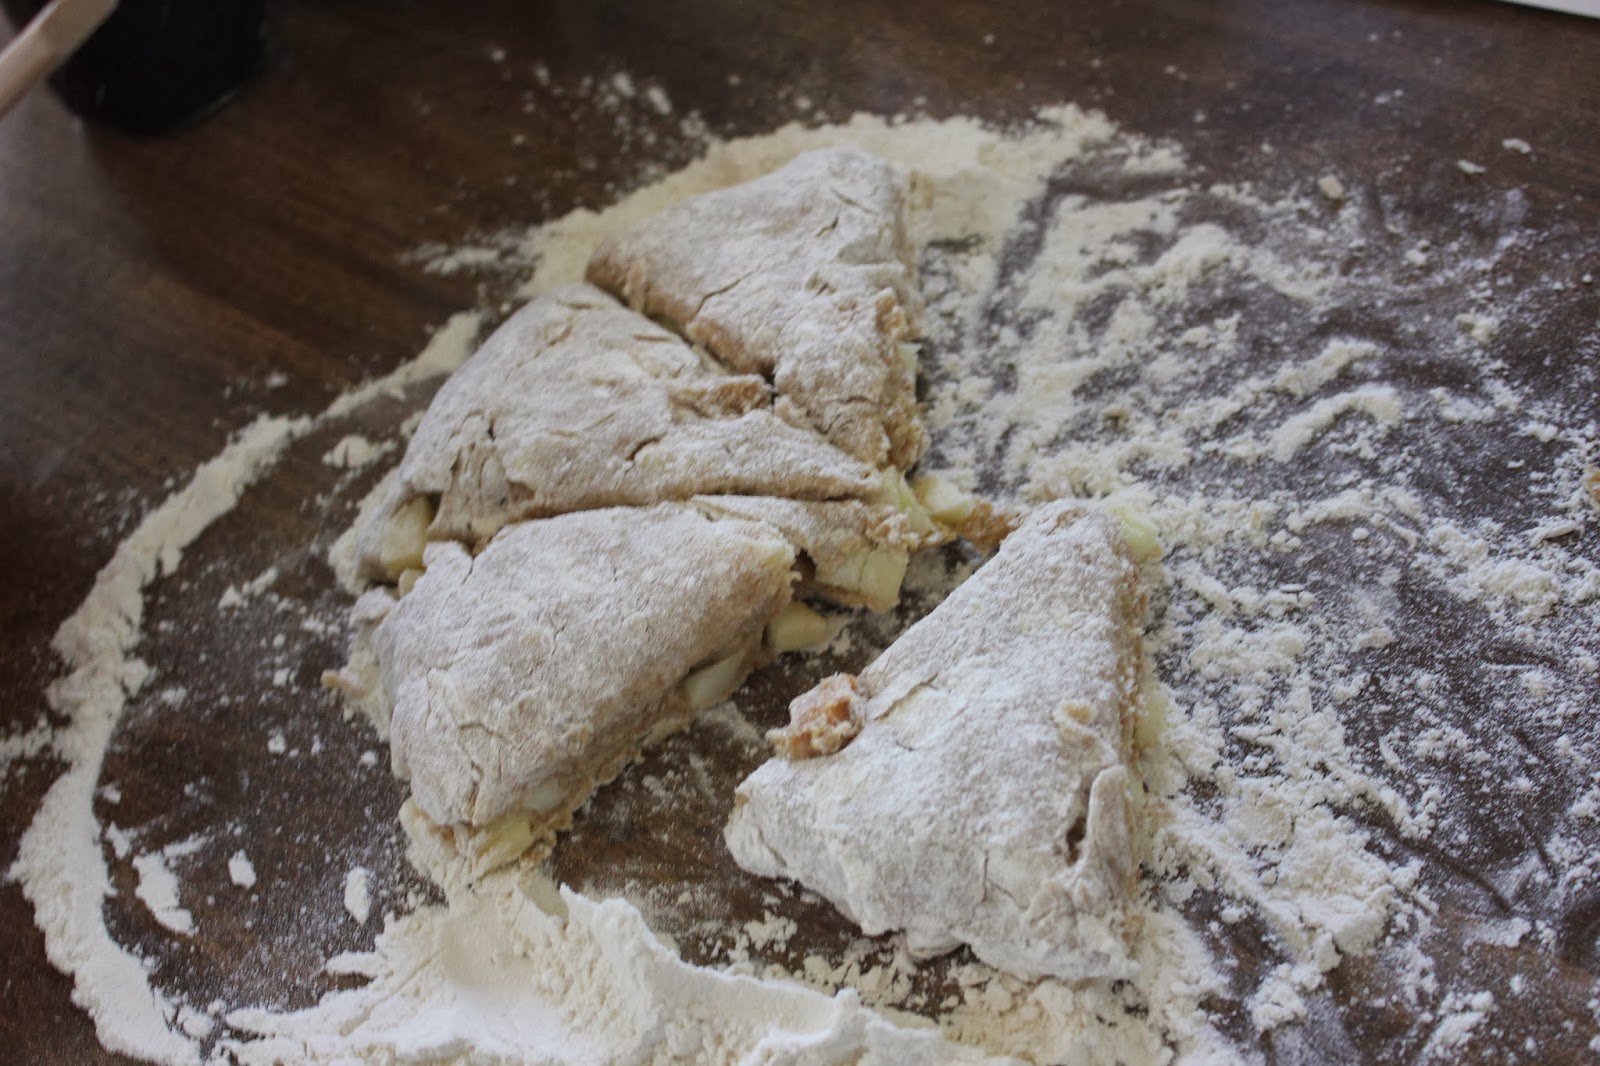
Then I took out half my dough and stirred in my chopped apple and because this WAS vacation, little pieces of caramel.


I formed these in the traditional way - rolling it into a circle and then cutting it into 8ths.


Then to the rest of my base I added in a little over half a can of pumpkin puree, and about a half cup of oats.


This batter was a lot wetter due to the pumpkin, so I used an ice cream scoop for these.


Here are the caramel apple scones -  which add yummy gooey caramel just oozing out of them.


And the pumpin scones, which came out a lot better than I thought they would. I topped them with a simple cinnamon glaze.


Then I packed them up for our trip! I waited to make sure they were completely cool and the icing on the pumpkin scones was completely set to avoid a mess. 


We had a great time on our trip!

Basic scones with caramel apple and pumpkin variations:

Basic scone recipe:

  • 2 1/2 cups flour
  • 1/4 cup sugar
  • 1/2 teaspoon salt
  • 1/2 Tbsp baking powder
  • 1 tsp ground cinnamon
  • 1/2 cup (8 tablespoons) cold butter
  • 1 large egg
  • 1 teaspoon vanilla
  • 1/4 cup milk
Mix dry ingredients together, then add butter with pulse on food processor or with pastry cutter. Add in egg, vanilla, and milk and mix until combined. 

Apple variety:

1 large apple, chopped
10 caramel candies, cut into little pieces

Mix in to base dough, roll out into a circle about 2 inches thick. Cut into 8 triangles and place on cookie sheet. Bake at 375 for about 20-25 minutes.

Pumpkin Variety:

1 cup pumpkin puree
1/2 cup oats

Mix these into base dough. Scoop with standard ice cream scoop on to cookie sheet and bake at 375 for 20-25 minutes. Top with cinnamon icing

Cinnamon icing:

1 cup powdered sugar
1 tsp. cinnamon
1 T milk, water, or juice

combine, adding more liquid as needed to get the consistency of glaze you wait. You can even make it a frosting by adding more powdered sugar!


Wednesday, October 2, 2013

Dutch Oven Artisan Quinoa Bread

I love it when something I invent actually works out! The first time is even better. I'm still a little cautious playing around with my own recipes, but I'm getting more and more confident. This Quinoa bread is the result of trying to use what I had on hand, and aiming towards a specific texture to go with a seafood soup I was making. 


I had this black Quinoa I wanted to use up, because for everyday cooking I prefer regular quinoa. I thought this would go great in bread though, and I wanted a nice hearty multi-grain bread to go with my soup. I also wanted it to be crispy on the outside and soft on the inside - which is where the dutch oven comes in.

My black quinoa

I started by soaking my quinoa in some warm water so soften it. I didn't really want to cook it all the way because I still wanted it to have some texture, but it did need to be softened. I put about a cup of quinoa and a cup of hot water to set on the counter for about 5 hours.


Then I started on my dough. I added warm water to my mixer and added my yeast to let it proof. I also added about a tablespoon of honey to help it along. Then I added in salt and flour, and let it come together. I then added in my quinoa - a cup and a half of my softened grain. I did have some leftover, which I ate for breakfast the next morning.

 \
Then to make it even better, I added 2 tablespoons of sesame seeds and 2 tablespoons of flax seeds. Then for kicks, 2 tablespoons of chia seeds. I added a bit more flour just so it wasn't to sticky, but the dough it still a really wet dough. I find I get better bread this way. You can see how sticky it still is:


Then I just covered it with a warm, damp towel in the same mixing bowl and let it rise for an hour. 


This is a no-knead dough. So all I did was put it on a floured surface and tried to shape it a bit - hard when it was so soft, but I was able to do it. In the meantime, I got my oven heating to 500 degrees and put my dutch oven in there to pre-heat. Next time, I might not do this, because it did get a little dark on the bottom. However, I did succeed in getting that great crunch on the outside of my bread!


It is very rustic looking, but that is what I wanted. This is a very rustic bread. I wanted lots of little places to get crunchy and yummy.

So then into the hot dutch oven it went and into my real oven, for half an hour with the cover on. Then I lowered to heat to 375 and baked it an extra 20 minutes.


Here is my result! It went great with my fisherman's soup - a tomato broth based soup with halibut and shrimp and lots of veggies!


Dutch Oven Artisan Quinoa Bread

1 1/2 cups warm water
1 packet active dry yeast
1 Tablespoon honey
2 teaspoons salt
3 cups whole wheat flour (or a combination wheat/white)
1 1/2 cups soaked quinoa
2 Tablespoons sesame seeds
2 Tablespoons flax seeds
2 tablespoons chia seeds
Extra flour for dusting

Begin by letting the water, yeast, and honey sit for about 10 minutes. Add the flour and salt and mix until combined. Add in the quinoa and all your seeds and mix for about 5 minutes. Add a little flour if it looks really wet.

Then let rise for an hour covered with a warm, damp cloth.

Place your dutch oven into the oven and preheat to 500 degrees. Dump dough out onto a floured surface and make a sort of round shape with it - it doesn't have to be, and shouldn't be, perfect! When the oven is heated, take out the dutch oven and place the dough in the hot pot. Cover and bake for half an hour. Then take the cover off and bake another 15-20 minutes or until crust is brown and crispy. Let cool for a bit and then cut into it! It is reallllly good slightly warm with butter!